SpringBoot集成MinIO
- 发布时间:2025-02-20 17:37:31 (有修改)
- 本文热度:浏览 956 赞 0 评论 0
- 文章标签: Spring Boot MiniIO
- 全文共1字,阅读约需1分钟
1、MinIO介绍
1.1、minio介绍
MinIO:它是一个对象存储服务。类似于云服务器厂商提供的OSS服务。
在项目中经常有大量的图片等文件数据需要存储,可以借助云服务器的OSS服务,也可以使用MinIO搭建自己的对象存储服务。
1.2、Minio的特点
- 简单易用: Minio的安装和配置非常简单,只需要下载并运行相应的二进制文件即可。它提供了一个Web UI,可以通过界面管理存储桶和对象。
- 可扩展性: Minio可以轻松地扩展到多个节点,以提供高可用性和容错能力。它支持多种部署模式,包括单节点、主从复制和集群等。
- 高可用性: Minio提供了多种机制来保证数据的可靠性和可用性,包括冗余备份、数据复制和故障转移等。
- 安全性: Minio提供了多种安全机制来保护数据的机密性和完整性,包括SSL/TLS加密、访问控制和数据加密等。
- 多语言支持: Minio支持多种编程语言,包括Java、Python、Ruby和Go等。
- 社区支持: Minio是一个开源项目,拥有庞大的社区支持和贡献者。它的源代码可以在GitHub上获得,并且有一个活跃的邮件列表和论坛。
- 对象存储: Minio的核心功能是对象存储。它允许用户上传和下载任意数量和大小的对象,并提供了多种API和SDK来访问这些对象。
- 块存储: Minio还支持块存储,允许用户上传和下载大型文件(例如图像或视频)。块存储是一种快速、高效的方式来处理大型文件。
- 文件存储: Minio还支持文件存储,允许用户上传和下载单个文件。文件存储是一种简单、快速的方式来处理小型文件。
2、安装MinIO
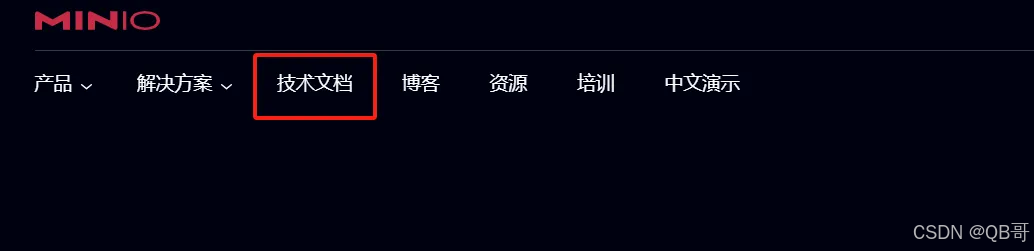
英文网:https://min.io/
中文网:https://www.minio.org.cn/
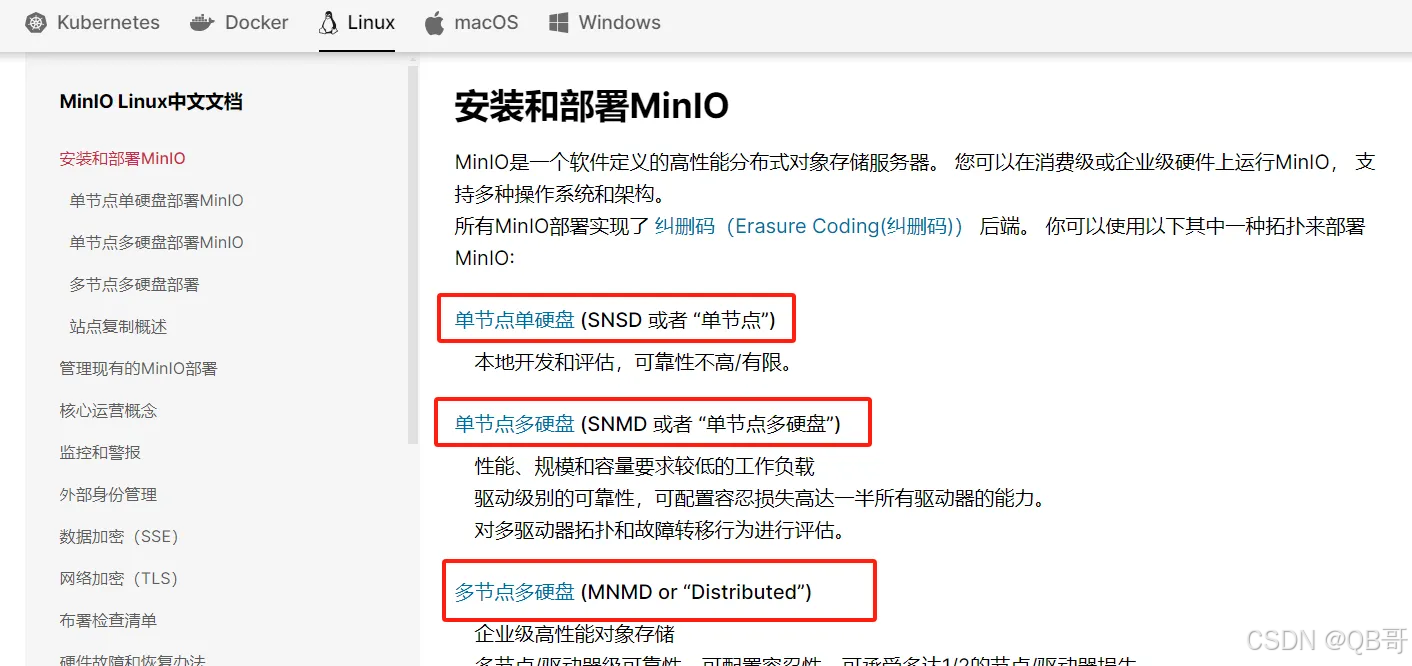
可以看到MinIO安装方式有三种:1、单节点单硬盘 ;2、单节点多硬盘 ;3、多节点多硬盘
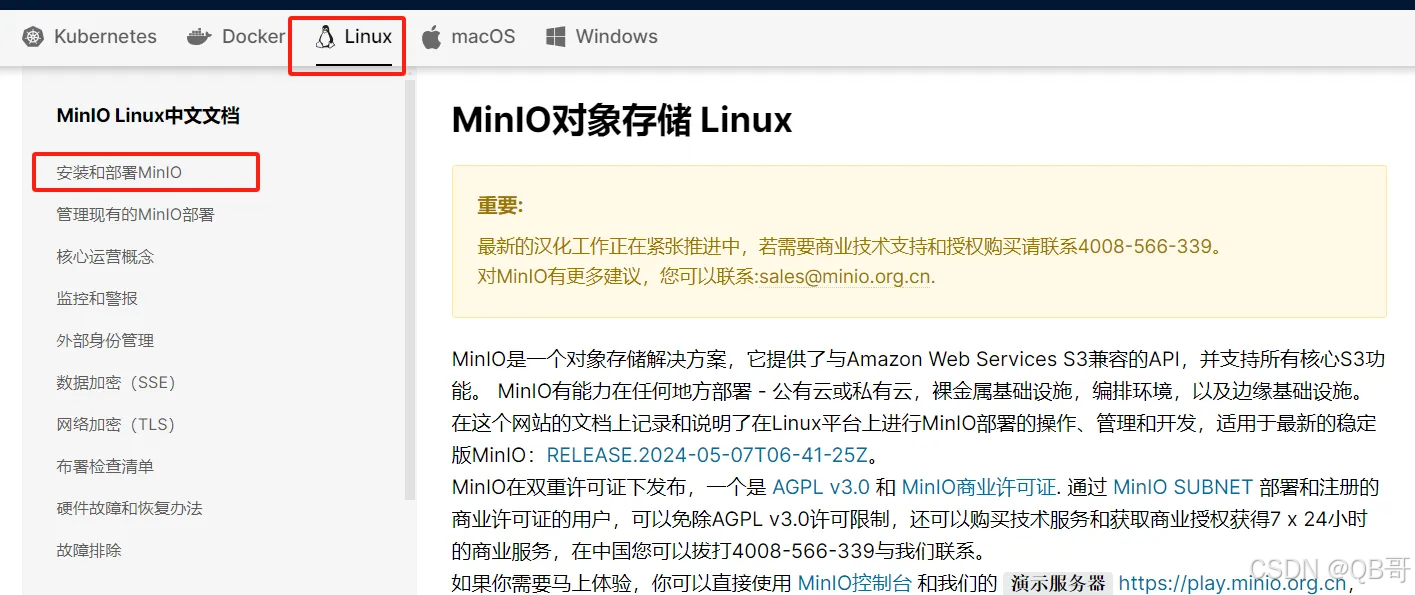
2.1、linux系统下安装
2.1.1、获取安装包
wget https://dl.min.io/server/minio/release/linux-amd64/archive/minio-20240507064125.0.0-1.x86_64.rpm -O minio.rpm
sudo dnf install minio.rpm
2.1.2、安装
rpm -ivh minio-20240507064125.0.0-1.x86_64.rpm2.2、window系统下安装
将下载的minio.exe文件放在一个没有中文和空格的目录下
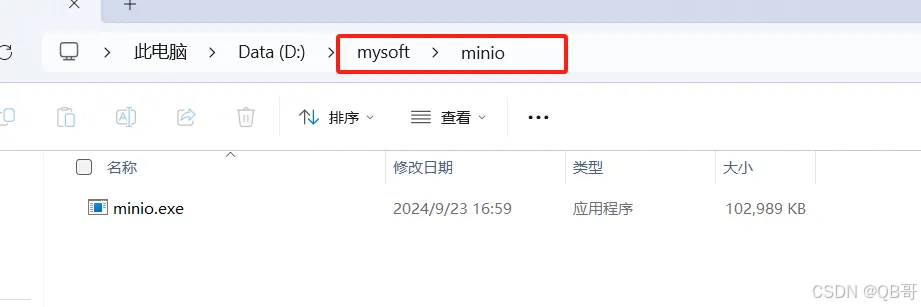
注意:不要双击运行 不要双击运行 不要双击运行
启动minio:以管理员权限打开cmd窗口,进入到minio.exe所在目录
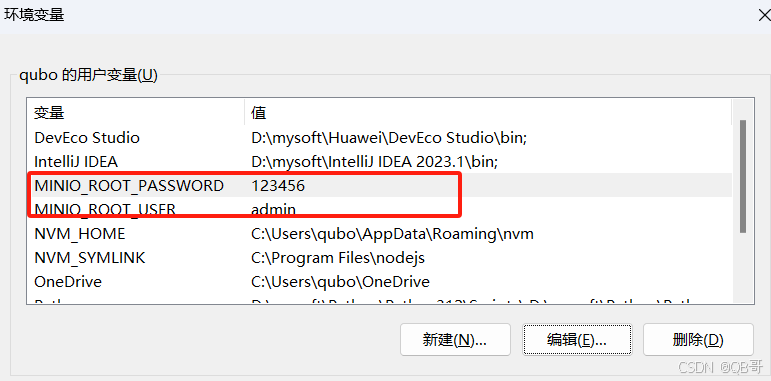
设置用户名
PS D:\mysoft\minio> setx MINIO_ROOT_USER admin设置登录密码
PS D:\mysoft\minio> setx MINIO_ROOT_PASSWORD 123456启动Minio服务,在minio目录下创建data文件夹,用于存储文件数据
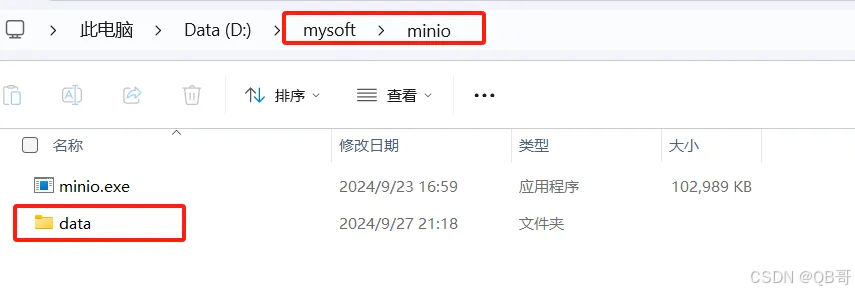
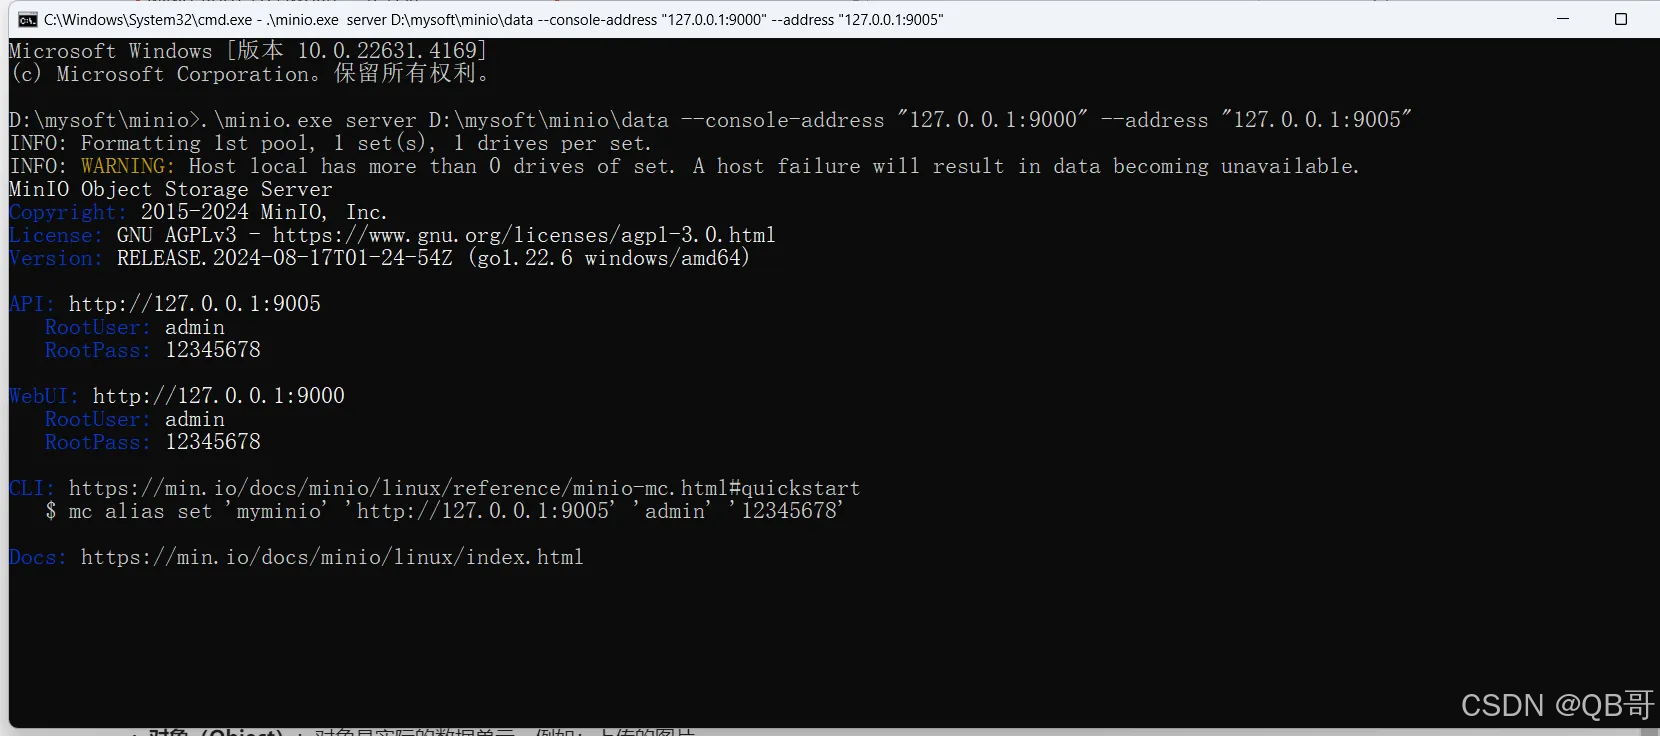
PS D:\mysoft\minio> .\minio.exe server D:\mysoft\minio\data --console-address "127.0.0.1:9000" --address "127.0.0.1:9005"9000是控制台端口,9005是服务的端口。

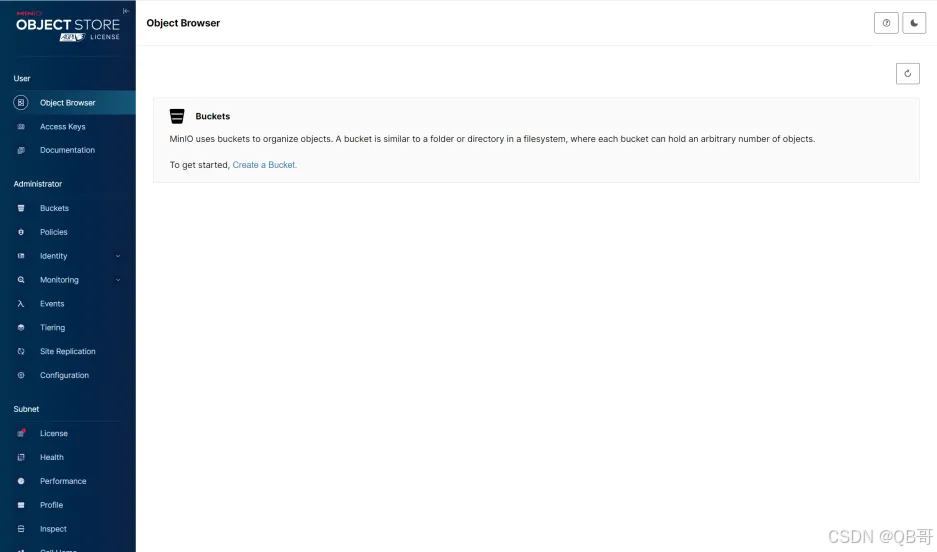
打开浏览器,访问 http://127.0.0.1:9000/login ,输入账号和密码

登录后,可以看到相关的图形化界面
2.3、启动报错
Windows环境下安装了MinIO,第一次运行正常,第二次却报错启动不起来了,发现是因为在第一次启动成功后,自己给自己设置了临时端口信息,设置的时候没按规定来。

修改第一次设置的账号和密码

启动minio
3、MinIO核心概念
● 对象(Object):对象是实际的数据单元,例如:上传的图片
● 存储桶(Bucket):存储桶是用于组织对象的名称空间,类似于文件夹。每个存储桶可以包含多个对象(文件)
● 端点(Endpoint):MinIO服务器的网络地址,用于访问存储桶和对象。例如:http://192.168.10.100:9000 , 注意:9000为 MinIO的API默认端口。
● AccessKey 和Secret Key:
○ AccessKey:用于标识和验证访问者身份的唯一标识符,相当于用户名。
○ Secret Key:与AccessKey关联的密码,用于验证访问者的身份。
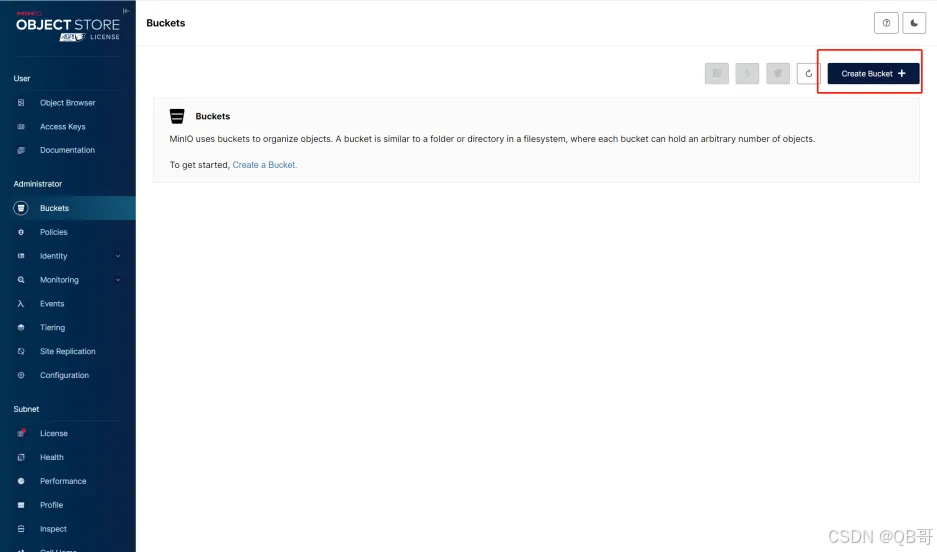
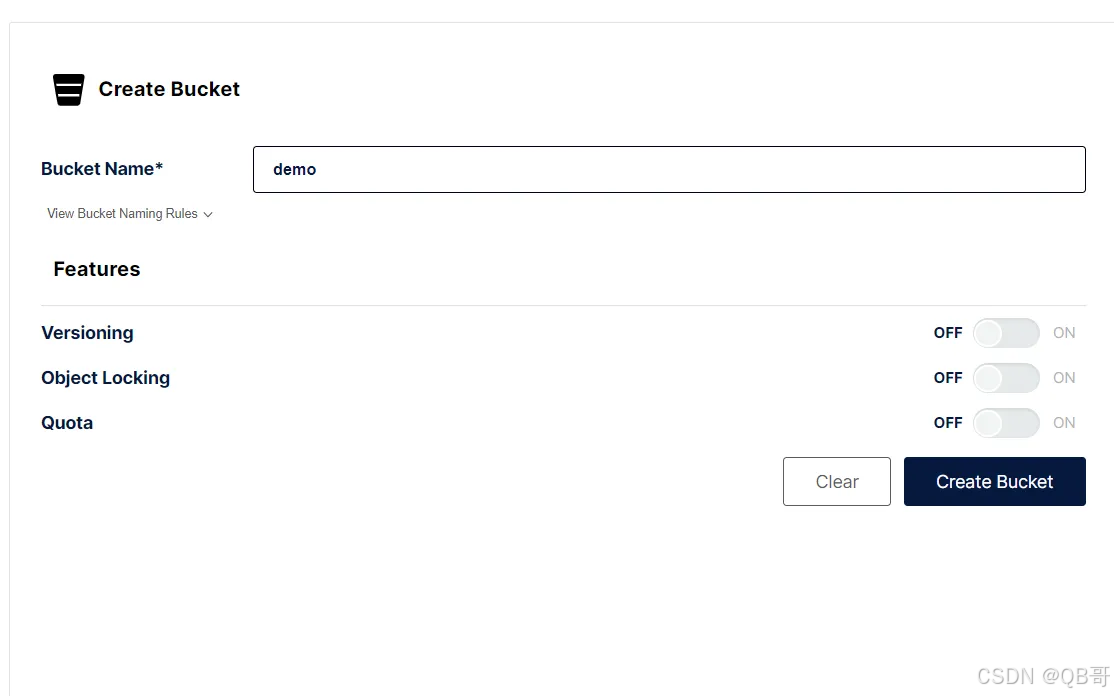
3.1、创建bucket
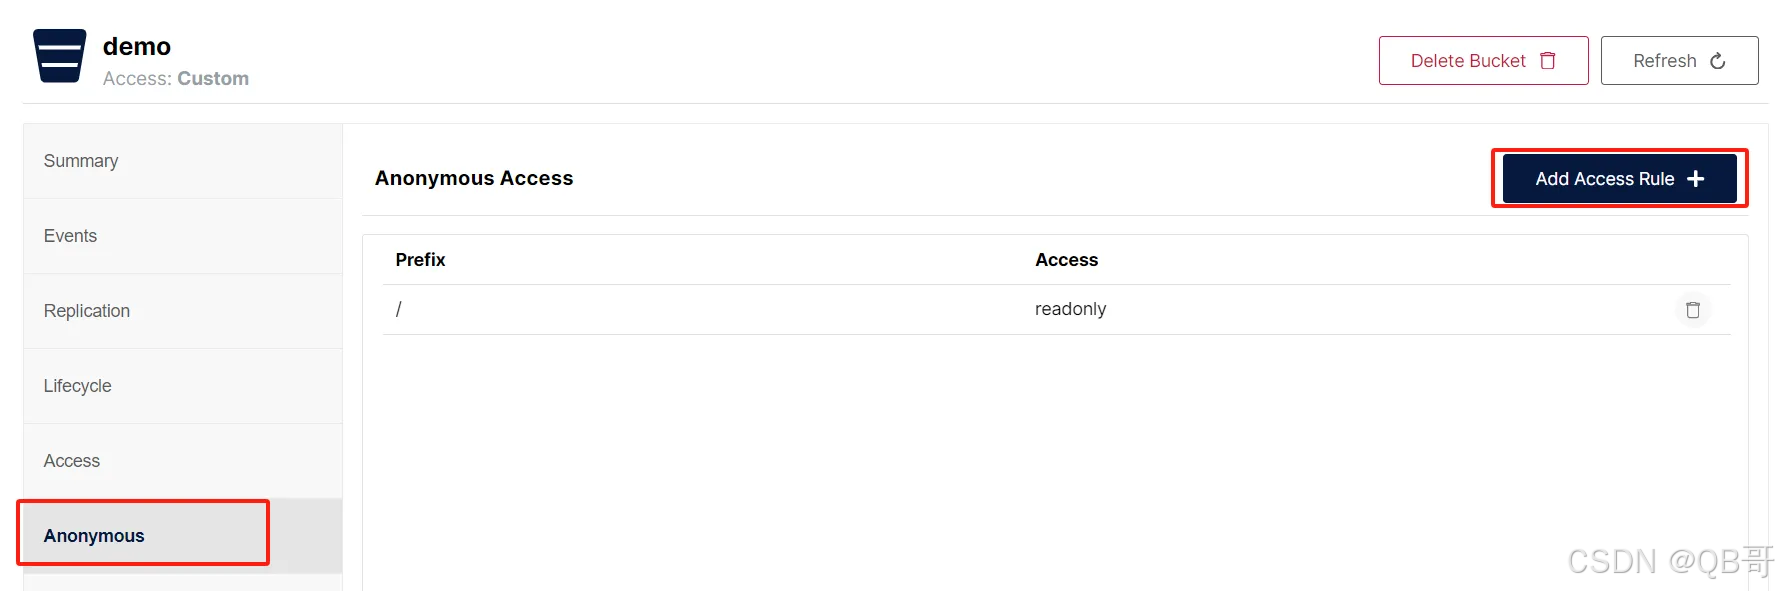
设置匿名用户的访问权限
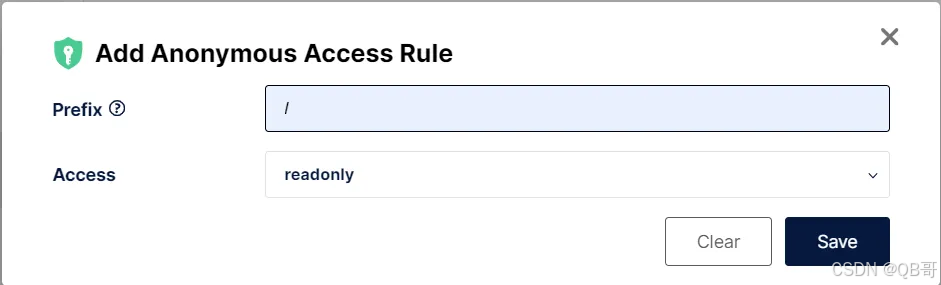
上传文件
点击"upload",选择上传的文件即可

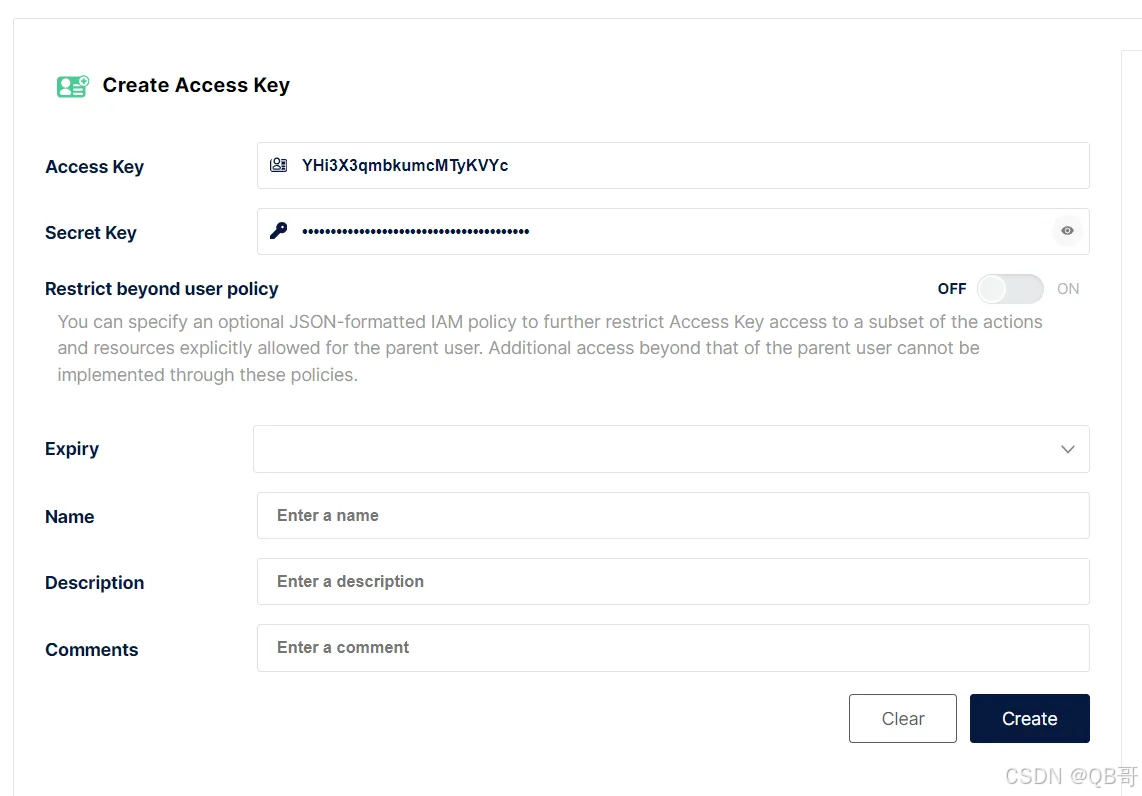
3.2、创建 Access Key

4、 Springboot整合Minio
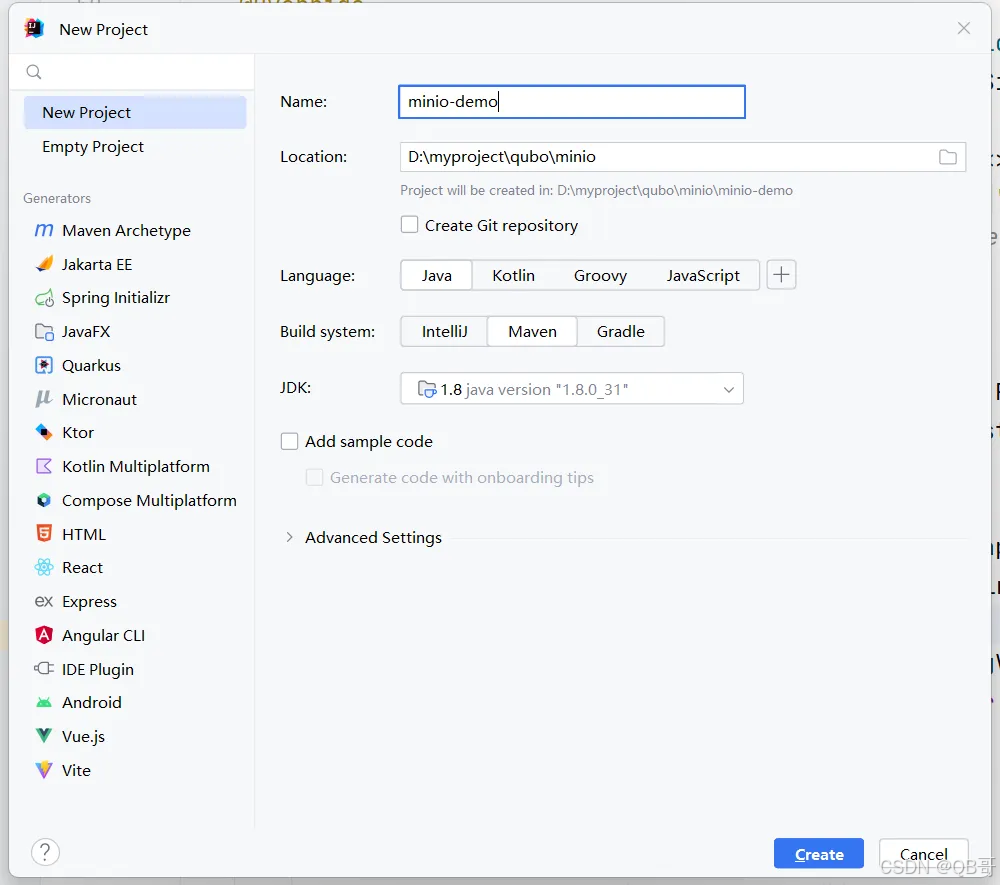
4.1、创建Springboot项目
4.2、添加依赖
<?xml version="1.0" encoding="UTF-8"?>
<project xmlns="http://maven.apache.org/POM/4.0.0" xmlns:xsi="http://www.w3.org/2001/XMLSchema-instance" xsi:schemaLocation="http://maven.apache.org/POM/4.0.0 http://maven.apache.org/xsd/maven-4.0.0.xsd">
  <modelVersion>4.0.0</modelVersion>
  <parent>
    <groupId>org.springframework.boot</groupId>
    <artifactId>spring-boot-starter-parent</artifactId>
    <version>2.7.18</version>
  </parent>
  <groupId>org.example</groupId>
  <artifactId>minio-demo</artifactId>
  <version>1.0-SNAPSHOT</version>

  <properties>
    <maven.compiler.source>8</maven.compiler.source>
    <maven.compiler.target>8</maven.compiler.target>
    <project.build.sourceEncoding>UTF-8</project.build.sourceEncoding>
  </properties>

  <dependencies>
    <!-- springmvc启动器 -->
    <dependency>
      <groupId>org.springframework.boot</groupId>
      <artifactId>spring-boot-starter-web</artifactId>
    </dependency>
    <dependency>
      <groupId>org.projectlombok</groupId>
      <artifactId>lombok</artifactId>
    </dependency>
    <!-- minio -->
    <dependency>
      <groupId>io.minio</groupId>
      <artifactId>minio</artifactId>
      <version>8.5.12</version>
    </dependency>

  </dependencies>
</project>
4.3、application.yml添加配置
#minio配置(下面四个都要替换成自己的)
minio:
  access-key: YHi3X3qmbkumcMTyKVYc
  secret-key: ZTwLdD0k2E8yJEdJlloKEMv8wKHsZuJNuxkYXaTB
  url: http://127.0.0.1:9005
  bucket-name: demo
6.4、编写MinioConfig配置类
@Data
@Configuration
@ConfigurationProperties(prefix = "minio")
public class MinIOConfig {
    private String accessKey;
    private String secretKey;
    private String url;
    private String bucketName;
    @Bean
    public MinioClient minioClient(){
        return MinioClient.builder()
        .endpoint(url)
        .credentials(accessKey,secretKey)
        .build();
    }
}
4.5、编写MinioUtil工具类
@Component
public class MinioUtil {
    @Autowired
    private MinioClient minioClient;
    @Autowired
    private MinIOConfig configuration;

    /** * 判断bucket是否存在,不存在则创建 */
    public boolean existBucket(String bucketName) {
        boolean exists;
        try {
            exists = minioClient.bucketExists(BucketExistsArgs.builder().bucket(bucketName).build());
            if (!exists) {
                minioClient.makeBucket(MakeBucketArgs.builder().bucket(bucketName).build());
                exists = true;
            }
        } catch (Exception e) {
            e.printStackTrace();
            exists = false;
        }
        return exists;
    }

    /** * 删除bucket */
    public Boolean removeBucket(String bucketName) {
        try {
            minioClient.removeBucket(RemoveBucketArgs.builder().bucket(bucketName).build());
        } catch (Exception e) {
            e.printStackTrace();
            return false;
        }
        return true;
    }

    /** * 上传文件 */
    public void upload(MultipartFile file, String fileName) {
        // 使用putObject上传一个文件到存储桶中。
        InputStream inputStream = null;
        try {
            inputStream = file.getInputStream();
            minioClient.putObject(PutObjectArgs.builder()
                    .bucket(configuration.getBucketName())
                    .object(fileName)
                    .stream(inputStream, file.getSize(), -1)
                    .contentType(file.getContentType())
                    .build());
            inputStream.close();
        } catch (Exception e) {
            e.printStackTrace();
        }
    }

    /** * 获取文件访问地址(有过期时间) */
    public String getExpireFileUrl(String fileName, int time, TimeUnit timeUnit) {
        try {
            return minioClient.getPresignedObjectUrl(GetPresignedObjectUrlArgs.builder()
                    .method(Method.GET)
                    .bucket(configuration.getBucketName())
                    .object(fileName)
                    .expiry(time, timeUnit).build());
        } catch (Exception e) {
            e.printStackTrace();
        }
        return null;
    }

    /** * 获取文件访问地址 */
    public String getFileUrl(String fileName) {
        try {
            return minioClient.getPresignedObjectUrl(GetPresignedObjectUrlArgs.builder()
                    .method(Method.GET)
                    .bucket(configuration.getBucketName())
                    .object(fileName)
                    .build()
            );
        } catch (Exception e) {
            e.printStackTrace();
        }
        return null;
    }

    /** * 下载文件 */
    public void download(HttpServletResponse response, String fileName) {
        InputStream in = null;
        try {
            // 获取对象信息
            StatObjectResponse stat = minioClient.statObject(StatObjectArgs.builder().bucket(configuration.getBucketName()).object(fileName).build());
            response.setContentType(stat.contentType());
            response.setHeader("Content-Disposition", "attachment;filename=" + URLEncoder.encode(fileName, "UTF-8"));
            // 文件下载
            in = minioClient.getObject(GetObjectArgs.builder().bucket(configuration.getBucketName()).object(fileName).build());
            IOUtils.copy(in, response.getOutputStream());
        } catch (Exception e) {
            e.printStackTrace();
        } finally {
            if (in != null) {
                try {
                    in.close();
                } catch (IOException e) {
                    e.printStackTrace();
                }
            }
        }
    }
    /** * 删除文件 */
    public void delete(String fileName) {
        try {
            minioClient.removeObject(RemoveObjectArgs.builder().bucket(configuration.getBucketName()).object(fileName).build());
        } catch (Exception e) {
            e.printStackTrace();
        }
    }
}
4.6、编写UploadController
@RestController
@RequestMapping("/file")
public class UploadController {
    @Autowired
    private MinioUtil minioUtil;

    /** * 上传文件 */
    @PostMapping(value = "/upload")
    public String uploadReport(MultipartFile file) {
        // 获取到上传的文件名
        String fileName = file.getOriginalFilename();
        // 上传文件
        minioUtil.upload(file, fileName);
        // 获取上传的文件地址
        return minioUtil.getFileUrl(fileName);
    }

    /** * 预览文件 */
    @GetMapping("/preview")
    public String preview(String fileName) {
        return minioUtil.getFileUrl(fileName);
    }

    /** * 下载文件 */
    @GetMapping("/download")
    public void download(String fileName, HttpServletResponse response) {
        minioUtil.download(response, fileName);
    }

    /** * 删除文件 */
    @GetMapping("/delete")
    public String delete(String fileName) {
        minioUtil.delete(fileName);
        return "删除成功";
    }
}- 本文链接: https://refblogs.com/article/1067
- 版权声明: 本文为互联网转载文章,出处已在文章中说明(部分除外)。如果侵权,请联系本站长删除,谢谢。